SIP Jig Bore
- Nov 23, 2021
- 1 min read
Updated: Dec 6, 2021
Boeing Tooling Division – Wichita, KS.

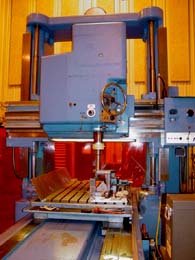
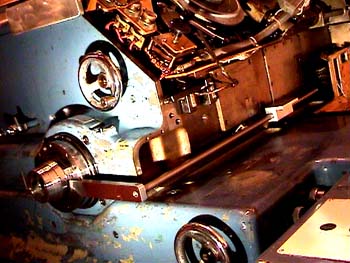
This is an overview of the SIP Precision Jig Bore Machine at Boeing’s Tooling Facility in Wichita, KS. The following pictures show modification of the Spindle in preparation for a Z-axis scale.

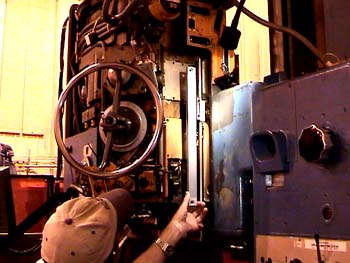
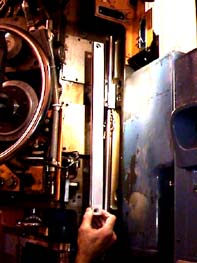
In this photo, you see a test fitting of the Z-axis scale by plant personnel. This was a tedious procedure and many trials were required to achieve proper fit and clearance.

This is a view of some of the parts it took to allow the reader head to travel the Z-axis without interference.


Comments